Tuesday, March 24, 2015

5 minute icing


5 Minute Icing Ingredients:

1 cup sugar
1/2 cup water
1/4 tsp cream of tartar
dash of salt
2 egg whites
1 tsp vanilla

Combine sugar, water, cream of tartar, and salt and microwave for 5 minutes in a 2-cup glass measure.


While this mixture is doing its magic in the micro, prepare the egg whites until SOFT PEAKS FORM. These peaks take time, so be patient! This was probably the one obstacle I had to learn with this recipe. You can see from the pic below how the egg whites should look. My mom usually recommends beating the egg whites for the entire 5 minutes that your other mixture is microwaving. This is pretty painless if you have a standmixer, but you can still achieve this with a regular electric mixer. After you have arrived at this consistency, gradually pour in hot syrup. Blend in the vanilla AT THE VERY END.


Spread the icing right away on a cooled cake and serve shortly after prepared. A word to the wise: 5 minute icing does tend to disintegrate so enjoy the cake fairly quickly after making it.


Coconut Cake


                                                                                     Directions:

                                               First, bake a white cake mix as directed on box:


...But the key to this cake is the 5 minute icing. It also known as 7 minute icing when you prepare the old school way, but using the microwave is easier for me and it tastes just as good!

5 Minute Icing Ingredients:

1 cup sugar
1/2 cup water
1/4 tsp cream of tartar
dash of salt
2 egg whites
1 tsp vanilla

Combine sugar, water, cream of tartar, and salt and microwave for 5 minutes in a 2-cup glass measure.


While this mixture is doing its magic in the micro, prepare the egg whites until SOFT PEAKS FORM. These peaks take time, so be patient! This was probably the one obstacle I had to learn with this recipe. You can see from the pic below how the egg whites should look. My mom usually recommends beating the egg whites for the entire 5 minutes that your other mixture is microwaving. This is pretty painless if you have a standmixer, but you can still achieve this with a regular electric mixer. After you have arrived at this consistency, gradually pour in hot syrup. Blend in the vanilla AT THE VERY END.


                                                   Now get to work putting it all together!


Ya Ya's Coconut Cake

Our one of kind Ya Ya (my Greek grandmother) passed away last November. She did live and long and healthy life and we miss her very bold and outspoken opinions about life. After her death, it sent me pondering about my family's traditions. We don't have a large and close knit family like some people, and I worried. What would I have to pass on to my children? Truth be told, she was one of the reasons I decided to start this blog. This gives me any opportunity to electronically preserve  the traditions we do have: Food! Ya Ya loved baking, and her coconut cake was one of her classics. I remember it with nostalgia and it is one of my favorites!

Here is this delectable delight and some photos of the ONE and ONLY Ya Ya:


                                      The first step is to bake a white cake mix as directed:


...But the key to this cake is the 5 minute icing. It also known as 7 minute icing when you prepare the old school way, but using the microwave is easier for me and it tastes just as good!

5 Minute Icing Ingredients:

1 cup sugar
1/2 cup water
1/4 tsp cream of tartar
dash of salt
2 egg whites
1 tsp vanilla

Combine sugar, water, cream of tartar, and salt and microwave for 5 minutes in a 2-cup glass measure.


While this mixture is doing its magic in the micro, prepare the egg whites until SOFT PEAKS FORM. These peaks take time, so be patient! This was probably the one obstacle I had to learn with this recipe. You can see from the pic below how the egg whites should look. My mom usually recommends beating the egg whites for the entire 5 minutes that your other mixture is microwaving. This is pretty painless if you have a standmixer, but you can still achieve this with a regular electric mixer. After you have arrived at this consistency, gradually pour in hot syrup. Blend in the vanilla AT THE VERY END.


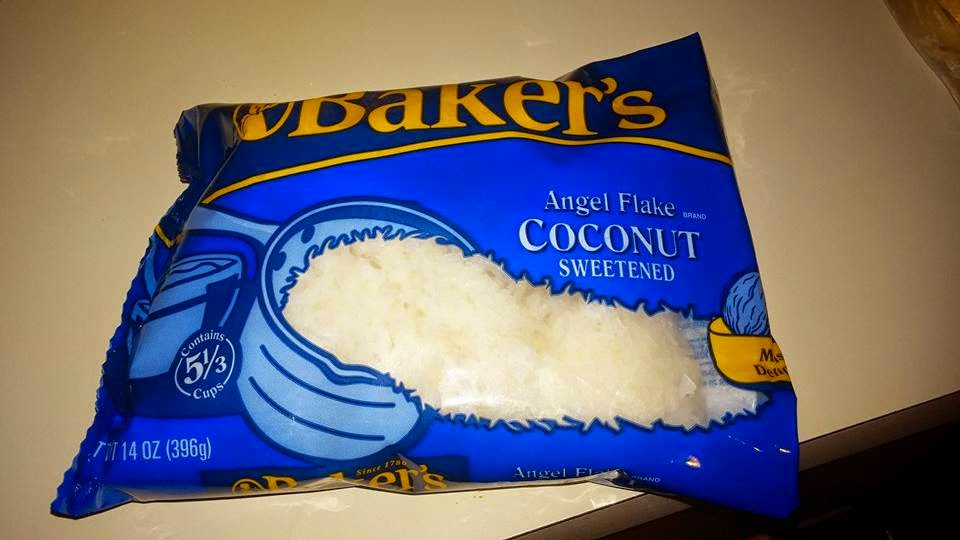
                                                      Don't forget your shredded coconut!


                                                       Now get to work putting it all together!


Japanese Plum Crumble Dessert

I happen to have the most wonderful and saintly mother in law of all time. And I don't mean this sarcastically. Rita Alza is so kind and thoughtful that in my humble opinion, she really should be sainted. While visiting her this weekend, she was kind enough to send us off with a variety of fruits that she has on some of her trees at her home. Japanese plum, aka Loquat, aka Nispero en espanol, are a small yellow plum that pack a super sweet punch. She offered so many that a recipe involving these little sweeties was a no brainer, so off to Pinterest I searched. Taken from cdkitchen.com on Pinterest, my version adds cranberries along with the raisins that the original recipe calls for. My crumble mix was my creation: recommended oatmeal, but also brown sugar, white sugar, and cinnamon. I also topped mine with a little whipped cream when served. You could also try it with Greek yogurt or ice cream.

Ingredients:
3 cups Japanese Plums, washed and pitted
1 cup white sugar
1 tablespoon lemon juice
1/2 tsp allspice
1/4 tsp cinnamon
1/4 tsp ground cloves
1/4 cup raisins
1/4 cup dried cranberries
1/2 cup water


Mix all ingredients except crumble mixture and put on burner on low-medium heat for 30 min:

                              While the plums are cooking on the stove, pre heat oven to 350 and prepare                                           crumble mixture:


      When plums are finished on stove, pour into your baking dish and add crumble mix to top:


                                   Bake at 350 until mixture is crispy, about 15 minutes:


                                                                      Add topping:


Monday, March 23, 2015

Roasted Brussels Sprouts

Don't know about you, but thought of Brussels sprouts when I was kid induced only one reaction from me for my poor mother: vomit! OK, maybe that is a little too graphic, but it would not be a complete stretch. Fast forward 30 something years later and I was intrigued by a plate while eating out that include those little green monsters. I tried with curiosity and skepticism. To my surprise, I fell in love! That was about a month ago and have been dreaming about cooking those in my very own kitchen ever since that day.

Taken from the Food Network's Barefoot Contessa, Ina Garten offers a seriously good (husband approved) Roasted Brussels Sprouts recipe!

                                                                              Ingredients:

1 1/2 pounds of Brussels sprouts
2 tablespoons olive oil
3/4 tsp kosher salt
1/2 freshly ground black pepper

Pre heat oven to 400 degrees


                                                           Wash and cut the sprouts:


Mix them in a bowl with the olive oil, kosher salt, and black pepper:


                           Put them on a baking sheet lined with foil. Bake at 400 for 40 min:

                                                                         Enjoy:


Sunday, March 22, 2015

Kitchen Aid Standmixer Decals

Have you seen awesomly designed KitchenAid mixers? I recently noticed Ree Drummond's on her Food Network show. It was so cute! An artist, Nicole Dinardo, custom painted her standmixer for I am sure a pretty penny. But the average girl can find very inexpensive decal art on sites like Etsy that are also super cute! The pics are a mix of Nicole's work and more affordable decals found on Esty. I am going to take my time to decide on the perfect design for my mixer. Hope these inspire you!